HOW TO WRAP A GIFT NEATLY
A concise and precise guide on how to wrap a gift neatly, transforming the exchange into an artform.
The art of gifting is a ritual that requires time, effort, and thoughtfulness. When rushed, the act is reduced to a casual exchange. Using decorative wrapping paper instead of handing the gift bear or tossing it casually in a bag, is an effortless way to elevate its presentation. A wrapped gift instantly appears more thoughtful, especially when prepared with care. There are small details that make all the difference: the neat folds, crisp edges, invisible seams, smooth surfaces...
Select the Right Wrapping Paper
Not every material is suitable for wrapping. When contemplating how to wrap a gift neatly, always remember that selecting the right paper quality is the first step. Wrapping paper should be sturdy enough to prevent tears and snags, yet flexible enough to be seamlessly folded over each corner. Our studio, for example, uses premium 100 g/m² paper for its decorative wrapping sheets, which possesses the golden ratio between sturdiness and flexibility.
The texture, colours, patterns, and paper finish are also important factors when selecting the right wrapping material for your present. We recommend an uncoated, natural finish for a tactile experience when handling the gift. A matte finish offers an understated, elegant look; it also photographs better and helps bring out the vibrance of the printed design. When it comes to selecting patterns and colours, these should not only complement the overall presentation but also adhere to the preferences of the receiver. Selecting decorative wrapping sheets in their favourite shades and with their most adored patterns and symbols adds a touch of thoughtfulness and effort.
To properly store and handle your wrapping paper, refer to our dedicated care guide.
Prepare the Working Space
Wrapping a gift is a ritual. Starting the project in a cluttered environment will inevitably lead to a sloppy result. To wrap a gift neatly, find a steady, clean surface that offers enough room to place all your tools and to lay the wrapping sheet flat. It can be a dining room table, or you can use the floor, as long as it is clean and comfortable.
Gather the Necessary Tools
Make sure that all the wrapping tools are within arm’s reach to avoid interruptions that lead to mistakes. In general, the following tools are required:
(1) A pair of scissors or a paper cutter
(2) A ruler or measuring tape
(3) Double-sided tape
(4) Four paper weights (e.g. books)
(5) A semi-sharp pencil
If you are planning on wrapping a ribbon around the gift, make sure that it is within reach. A rectangular or square box may also be necessary, especially when gifting an oddly shaped item that does not come in a package, such as an antique trinket or a clothing item. Neatly wrapped gifts are either pre-packaged or are naturally shaped like a box — think of books, board games, and puzzles.
For more out-of-the-box wrapping styles, you can read our dedicated guide.
Take Measurements
Grab your measuring tape or ruler and measure the width, height, and length of the item. The wrapping sheet should be able to cover all surfaces, without creating bulk from excessive paper. Usually, the following method is advised:
(1) Calculate the length of the paper by adding the gift’s length and height together. Multiply that number by two, then add 4-5 centimetres for the overlap.
(2) To determine how wide to cut your wrapping paper, add the width of the gift to its height.
For example, if the gift is 20 cm long, 10 cm wide, and 10 cm in height, the paper should be 50 cm long and 20 cm wide. Once your measurements are ready, unroll the paper with the pattern side down and use small objects as temporary paperweights on the corners to prevent it from curling back up. Mark the dimensions directly onto the back of the paper and use the ruler to draw the grids with the pencil. Make sure that the tip is smooth, as needle-sharp pencils can cause tears.
Adjust the Size with the Scissors
To get a smooth, long cut, open the scissors and gently slide the blade forward through the paper without fully closing the handles. To ensure symmetry and precision, follow the grids you drew directly onto the paper.
Keep in mind that not all wrapping materials require cuts and adjustments. The decorative paper from Manuela Menzi Studio comes in convenient pre-cut sheets of different dimensions, which may require some minor adjustments for a perfect fit.
Wrap the Long Sides First
Once the decorative paper is adjusted to the desired measurements, place the gift face down and right in the middle of the marked surface. Pull one side of the paper up and over the box and secure it to the middle with a small piece of double-sided tape. Overlap the first piece with the opposite side and secure it by placing it on top of the tape. For a neat appearance, the paper should be pulled tightly over each side; the edges will look sharp and crisp. Make sure that the tape remains hidden by overlapping it by half a centimetre, creating a hidden seam.
Tuck in the Paper & Crease the Folds
Now that the long sides have been folded over the gift, two more sides remain uncovered. This is perhaps the most demanding step of the process, as covering the remaining parts requires precision and care.
On one open end, push the top edge of the paper down against the side of the gift, creating two triangular "wings". Crease the flaps with your fingers, move them inwards, and tape them down. Fold the remaining bottom flap upwards and secure it with the existing tape. Once this side is covered, repeat the same process on the opposite side.
Add the Finishing Touches
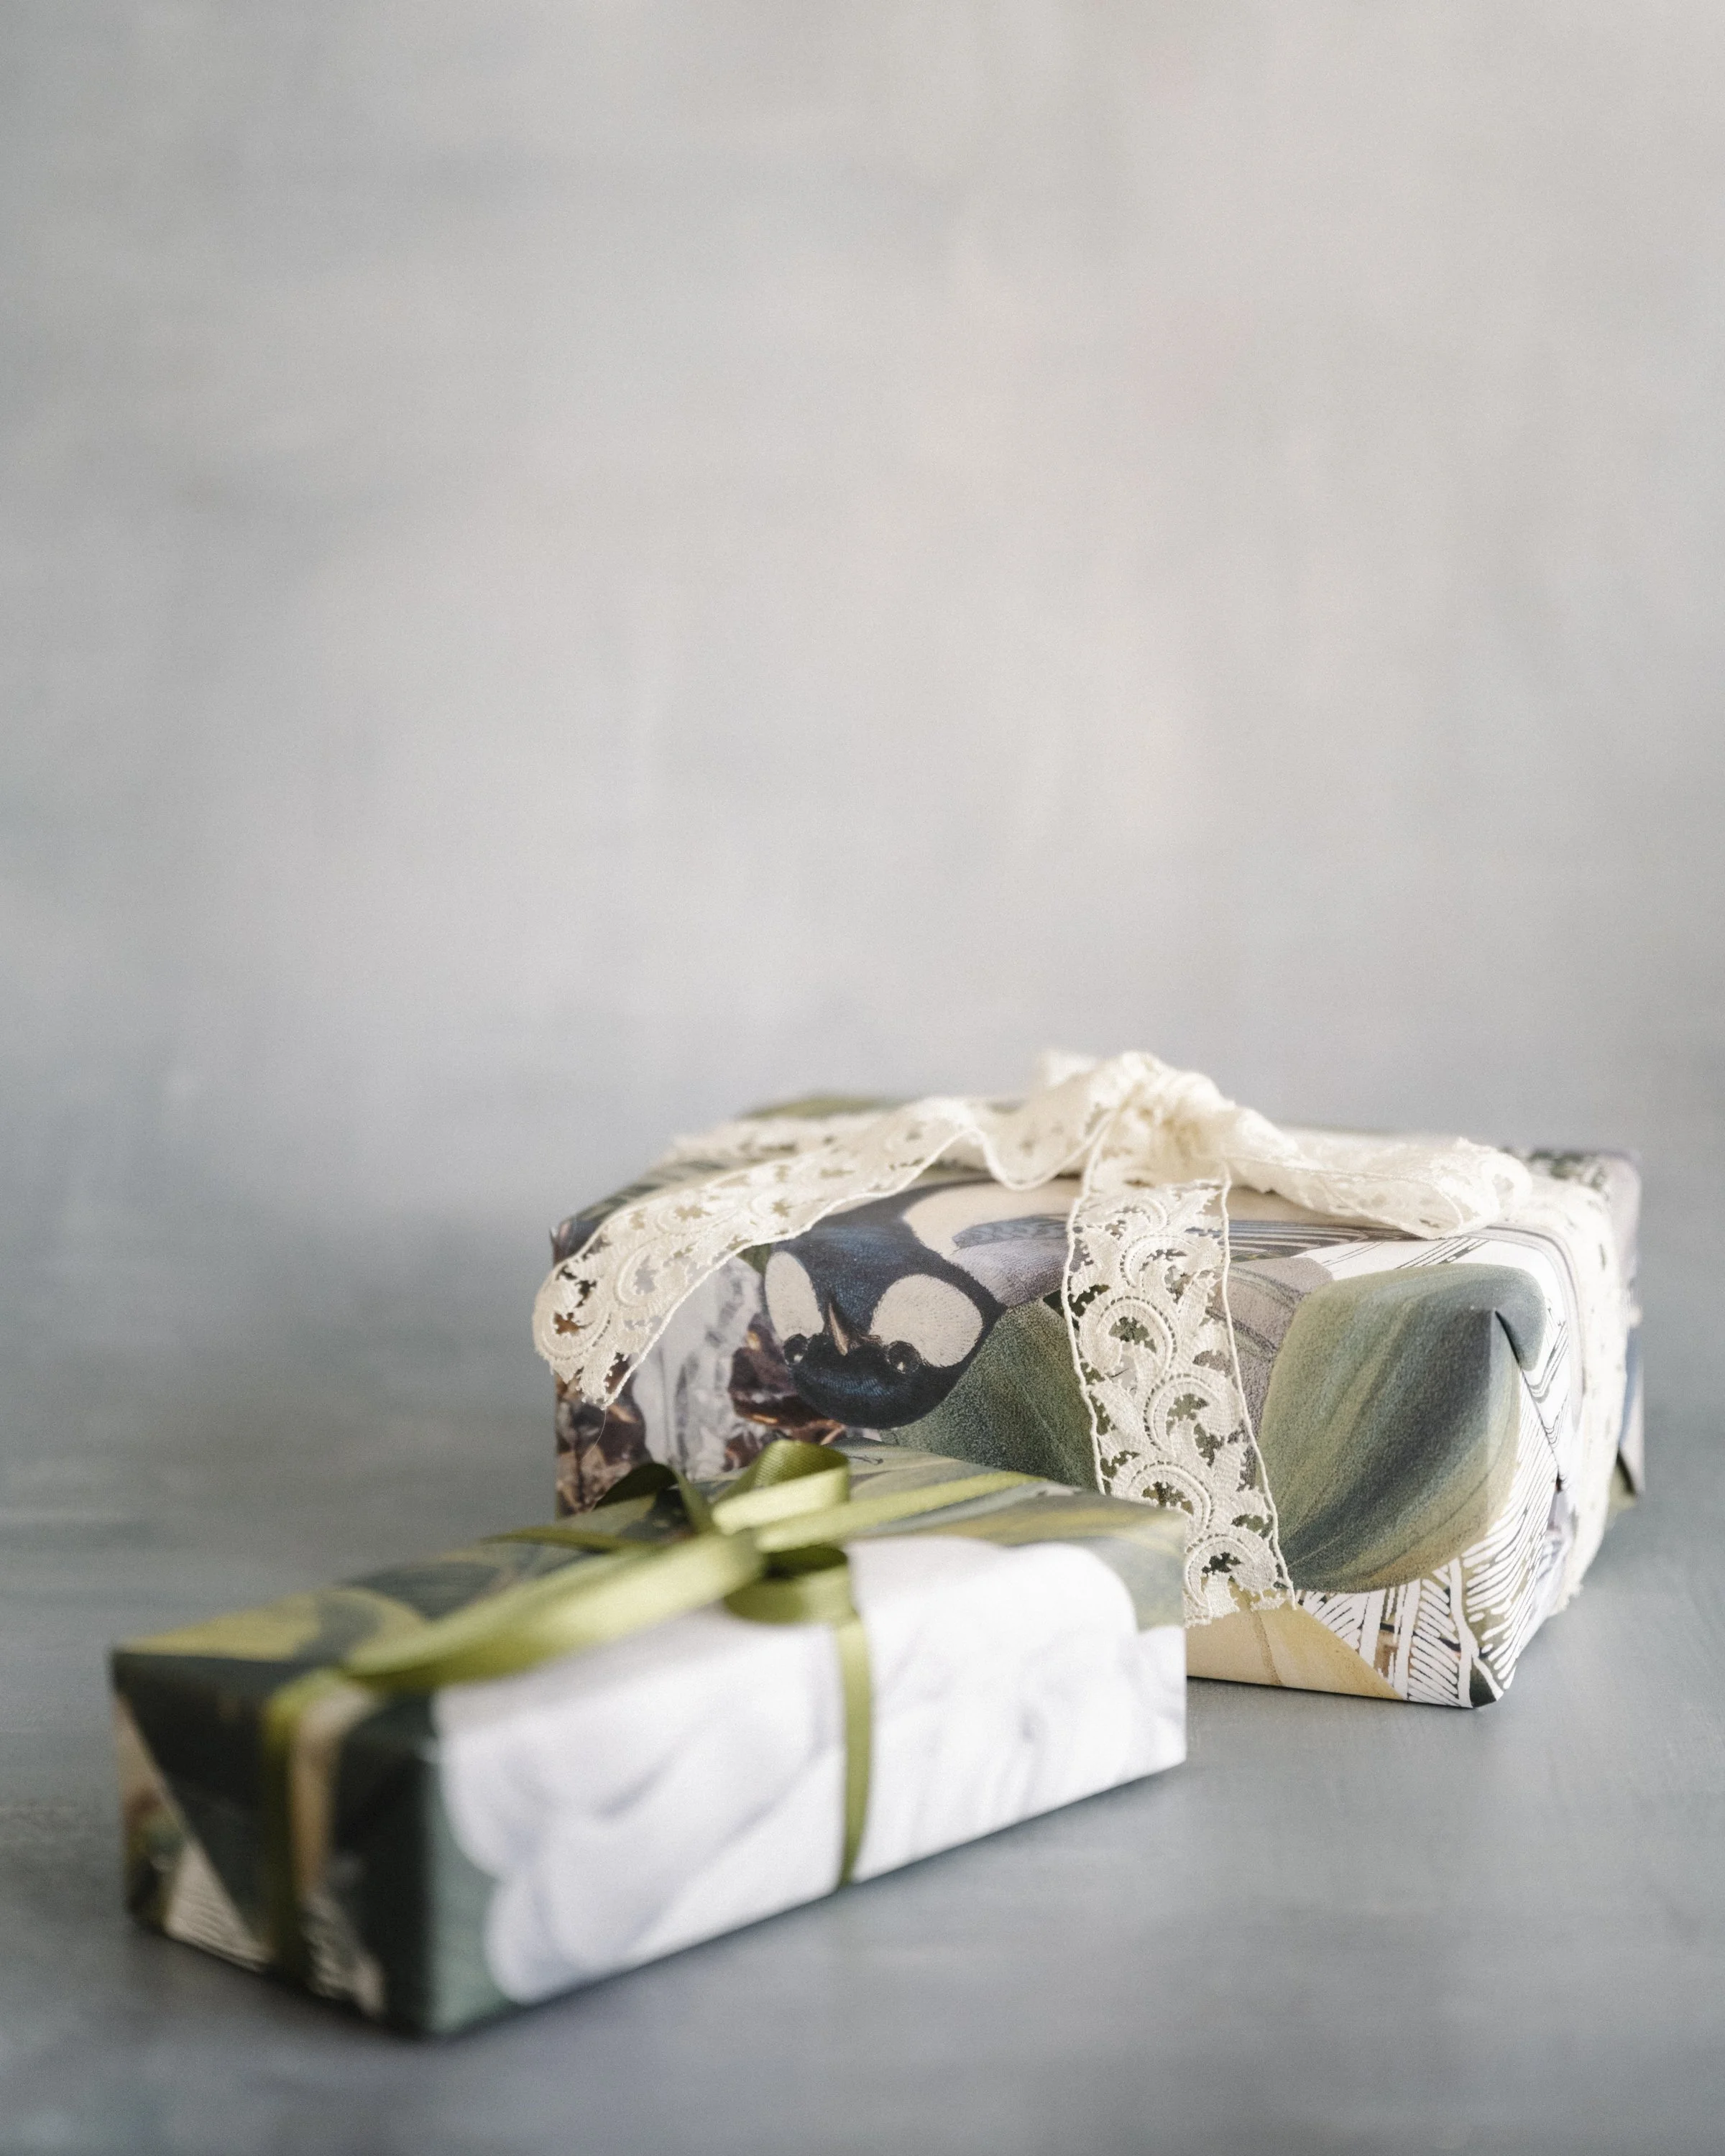
Once wrapped, run your thumb and forefinger along all the edges to sharpen the creases. It is now time to add the finishing touches; a velvet ribbon that forms a bow, a gift tag attached to the ribbon with a hand-written note, a flower adjusted to the bow...
Many of our customers prefer a clean look with no additional accessories. In this way, the focus is placed on the rich colours and intricate patterns of the decorative wrapping paper. We still recommend writing a personal, heartfelt message on a card and placing it in an envelope. Sealing the envelope with wax gives a timeless, elegant touch to the overall presentation.
How to Wrap a Gift Neatly in a Nutshell
(1) Select premium wrapping sheets with the appropriate colours and patterns.
(2) Clean up a large, steady surface and place your scissors, ruler, and other tools within reach.
(3) Adjust the paper size based on the gift’s measurements.
(4) The sheet should be able to cover all sides without creating extra bulk.
(5) Use a semi-sharp pencil to draw grids on the sheet’s back surface.
(6) Place your gift face down and in the middle of the marked surface.
(7) Wrap the long sides first, tuck in the sides, and crease the folds.
(8) Use double-sided tape instead of regular tape for hidden seams.
(9) Add the finishing touches, such as ribbons and gift tags.
Explore Our Collection of Premium Wrapping Sheets
Our philosophy is rooted in care and thoughtfulness. Gifting is an art form, and the act of wrapping is a ritual requiring time and patience.